


Table of contents
- Refrescar repositorios
- Actualizar paquetes disponibles si es necesario
- Actualización Full
- Instalemos nuestro servidor web apache que emplearemos en esta implementación.
- Verificamos que apache2 server esta corriendo en nuestros host.
- Debieras obtener una salida prompt shell similar a esta.
- Instalemos y configuremos MariaDB con los siguientes comandos
- Verifiquemos que MariaDB este corriendo en nuestro host
- Debieras obtener una salida prompt shell similar a esta
- Ejecute el siguiente comando para reforzar MariaDB:
- Siga la instrucción como se ve a continuación
- Iniciamos sesión en MariaDB
- Debieras obtener una salida prompt shell similar a esta
- Creamos nuestra base de datos
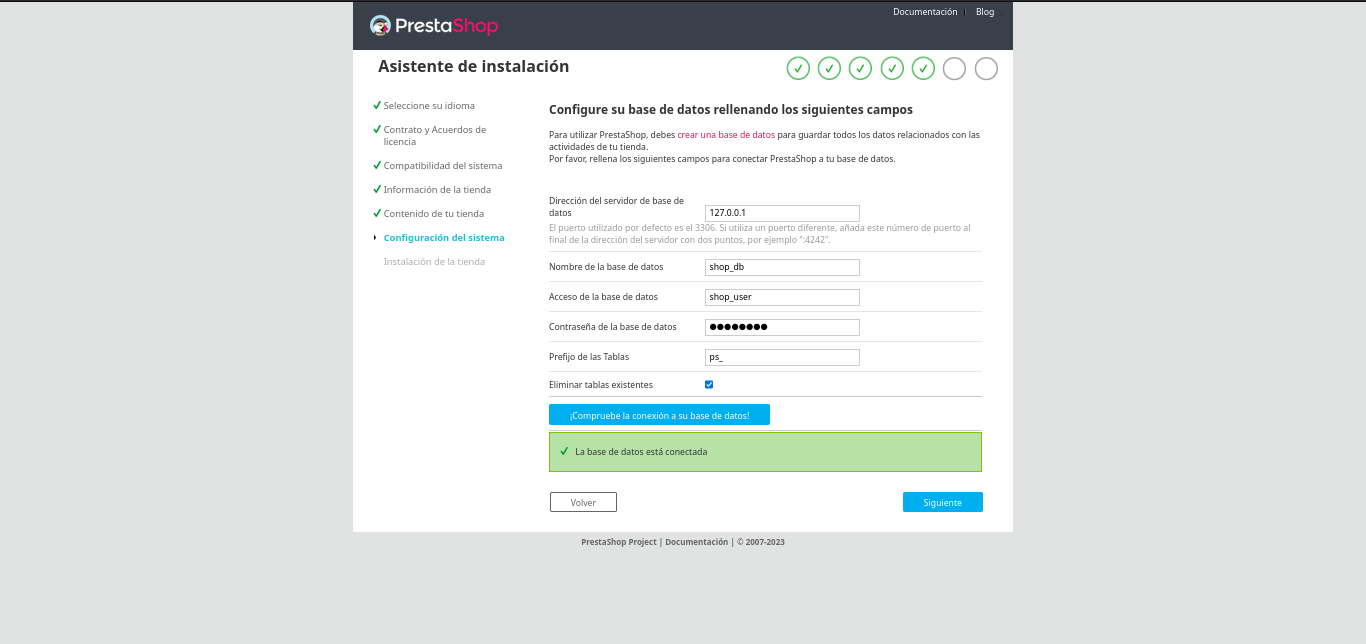
- Vamos a crear un usuario llamado "shop_user". Donde ves "(XXXXXXXX)", escribe la contraseña que asignarás a este usuario. Posteriormente, utilizaremos esta contraseña cuando instalemos PrestaShop para conectarnos a la base de datos "shop_db" con el usuario "shop_user" que hemos creado.
- Concedemos los privilegios suficientes al usuario "shop_user" sobre la base "shop_db".
- Salimos de la consola interactiva de MariaDB
- Instalamos PHP82 con las dependencias requeridas por prestashop
- Recargamos la configuración del servicio web apache para que tome las configuraciones de php que acabamos de instalar.
- instalamos wget y unzip necesario para descargar prestashop y descomprimir el archivo zip
- Descargamos prestahop en la ruta /tmp en versión 8.1.1
- Descomprimimos prestashop_8.1.1.zip
- Vamos a cambiar el grupo de la carpeta "html" de "root" al grupo "www-data".
- Eliminamos el archivos index.html de /var/www/html
- Habilitamos el modulo apache mod_rewrite
- Reiniciamos apache2
- Accede al localhost o la dirección IP correspondiente y procede con la configuración.
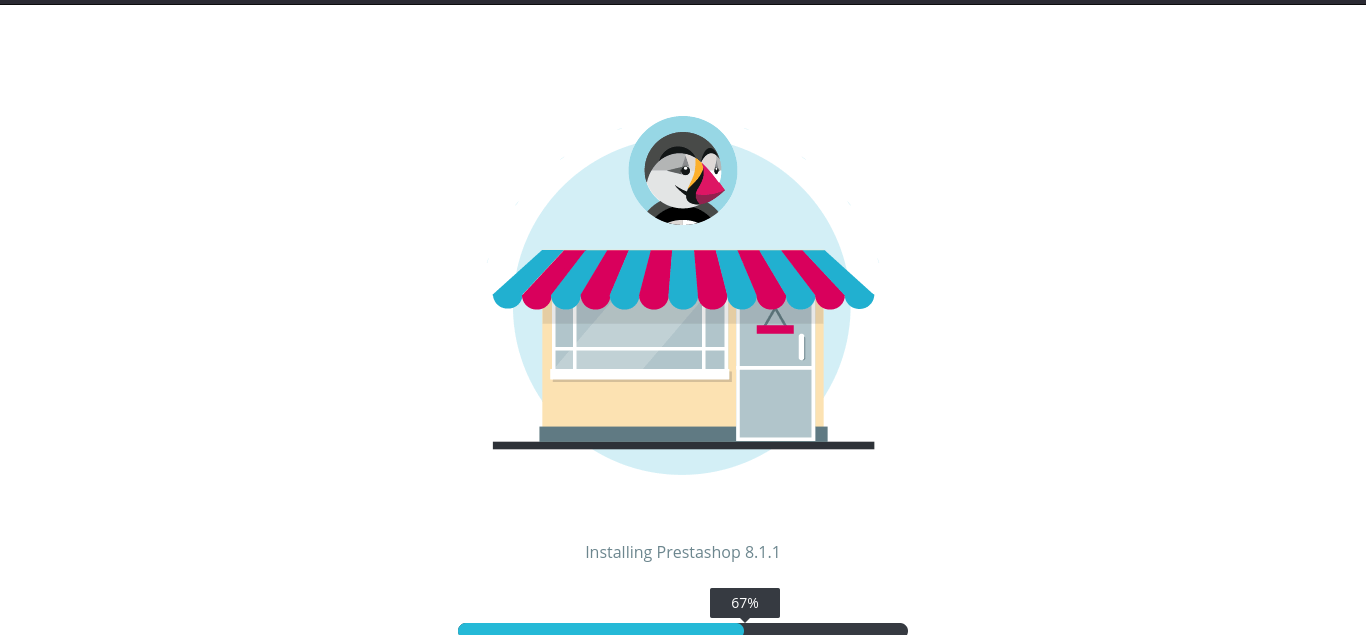
- Inicio Install_PrestaShop.html y Descompresión de prestashop.zip
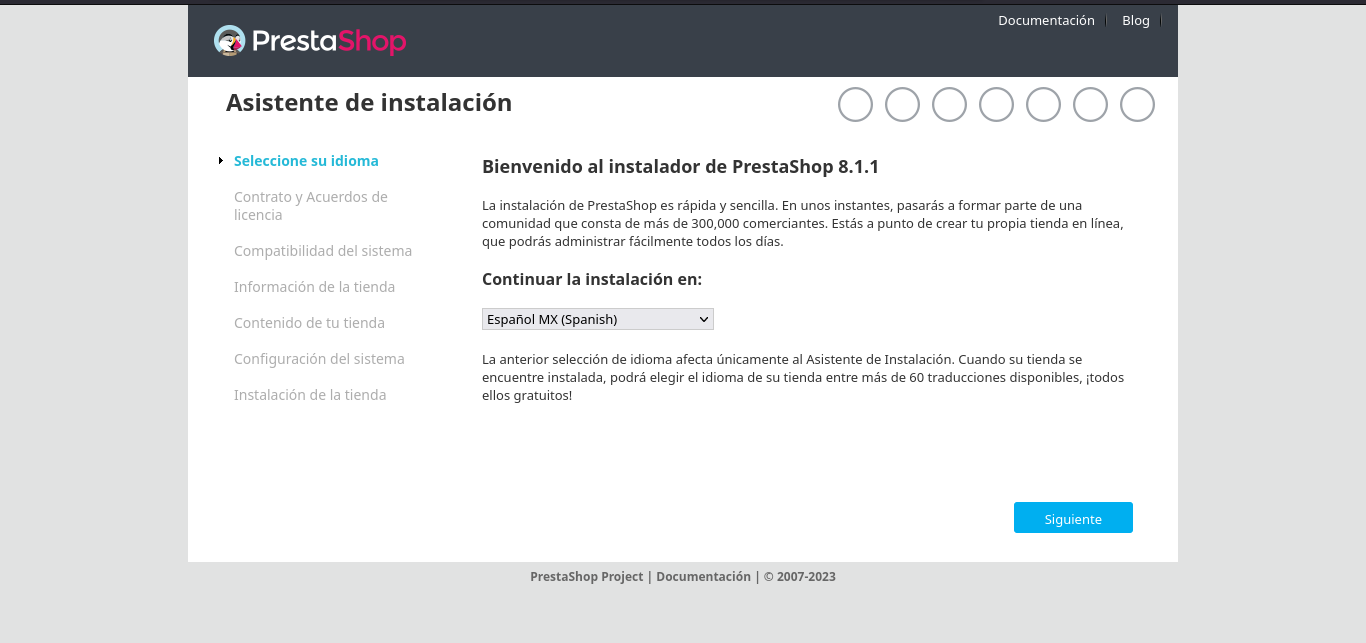
- Selección de idioma
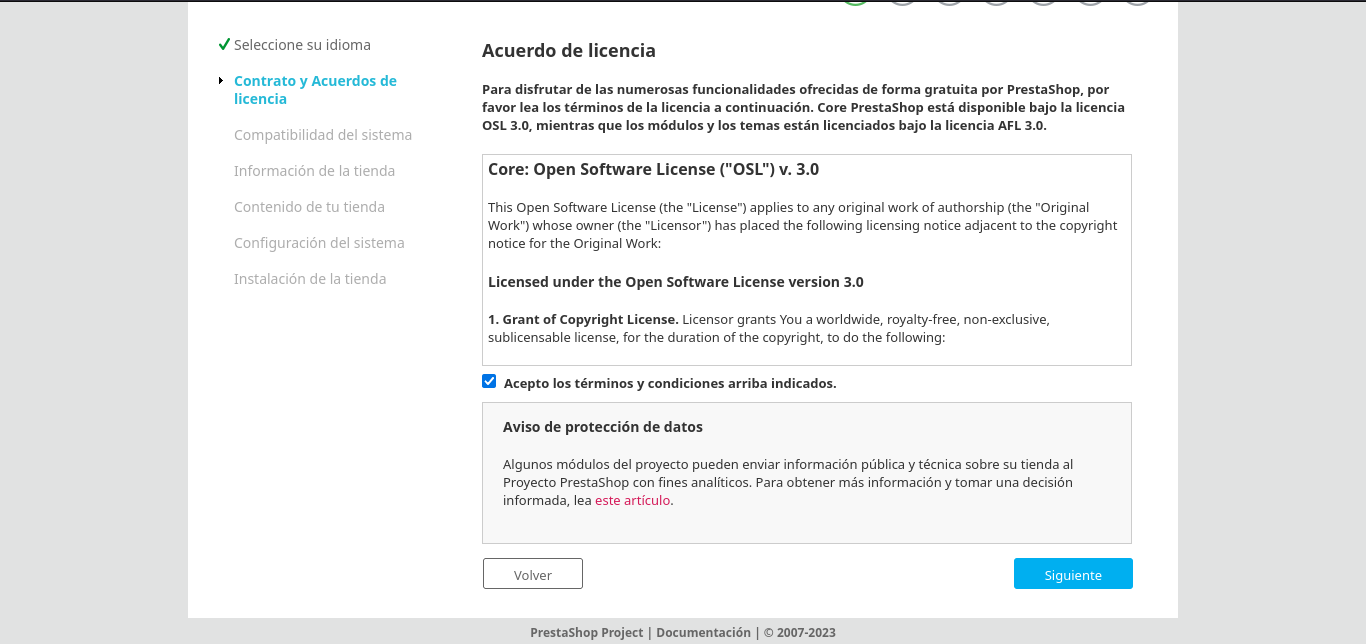
- Contrato y acuerdo de licencia
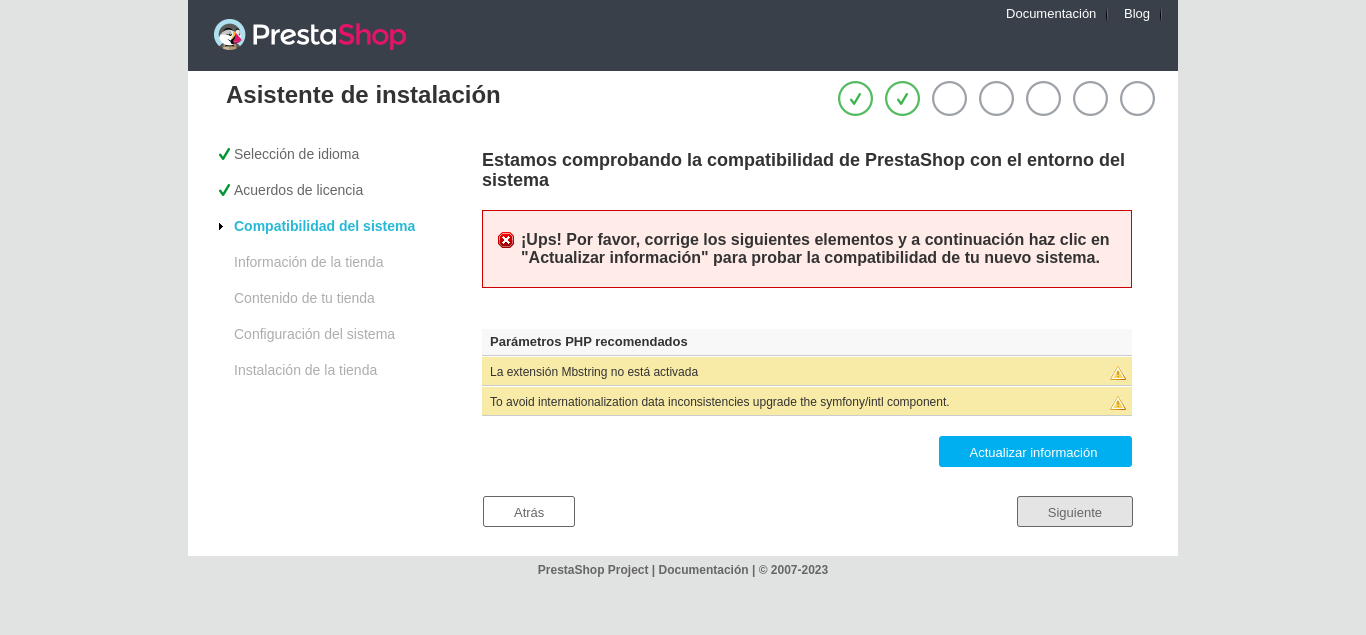
- Compatibilidad de sistema (esta Pantalla solo es visible si falta alguna dependencia, en este caso elimine intencionalmente php8.2-mbstring para mostrar la pantalla de error)
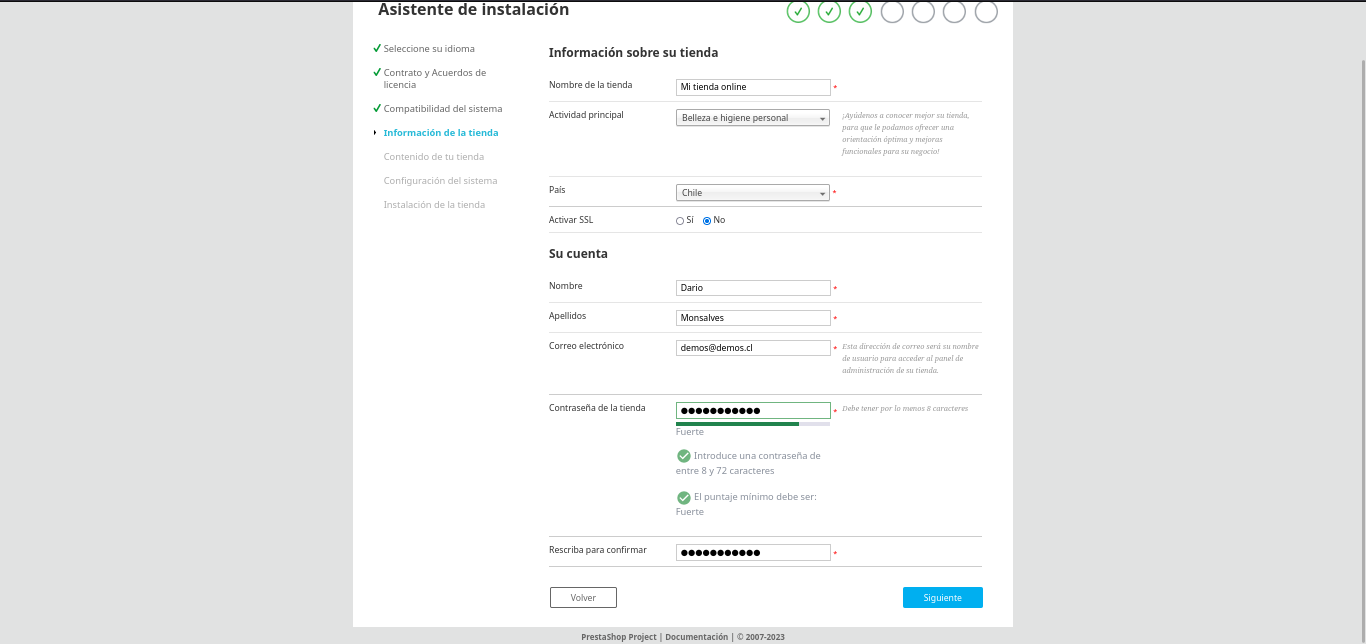
- Información de tienda
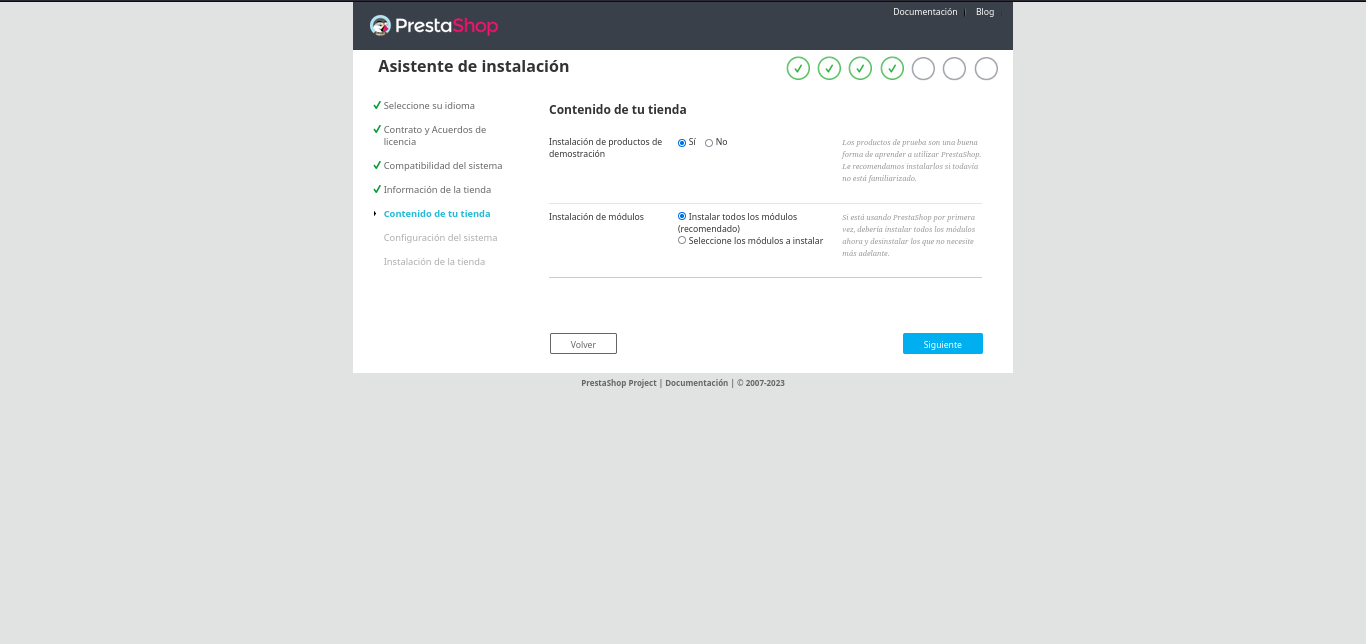
- Contenido de tienda
- Configuración de sistema
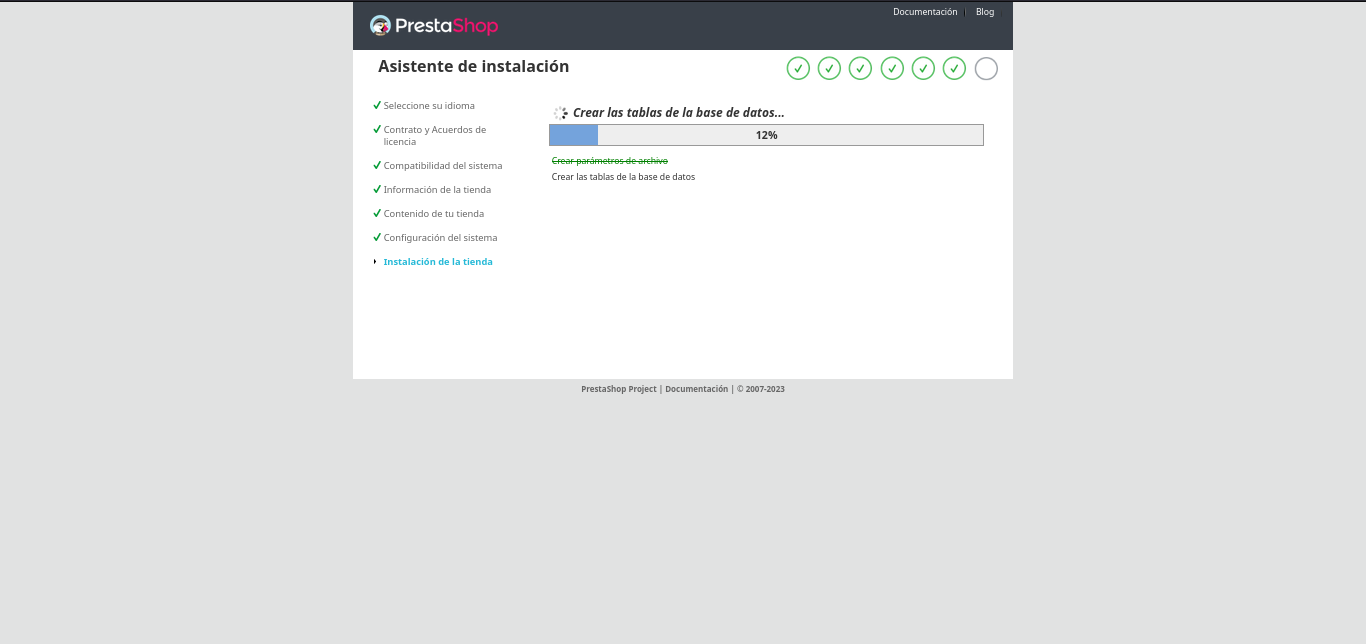
- Instalación de tienda
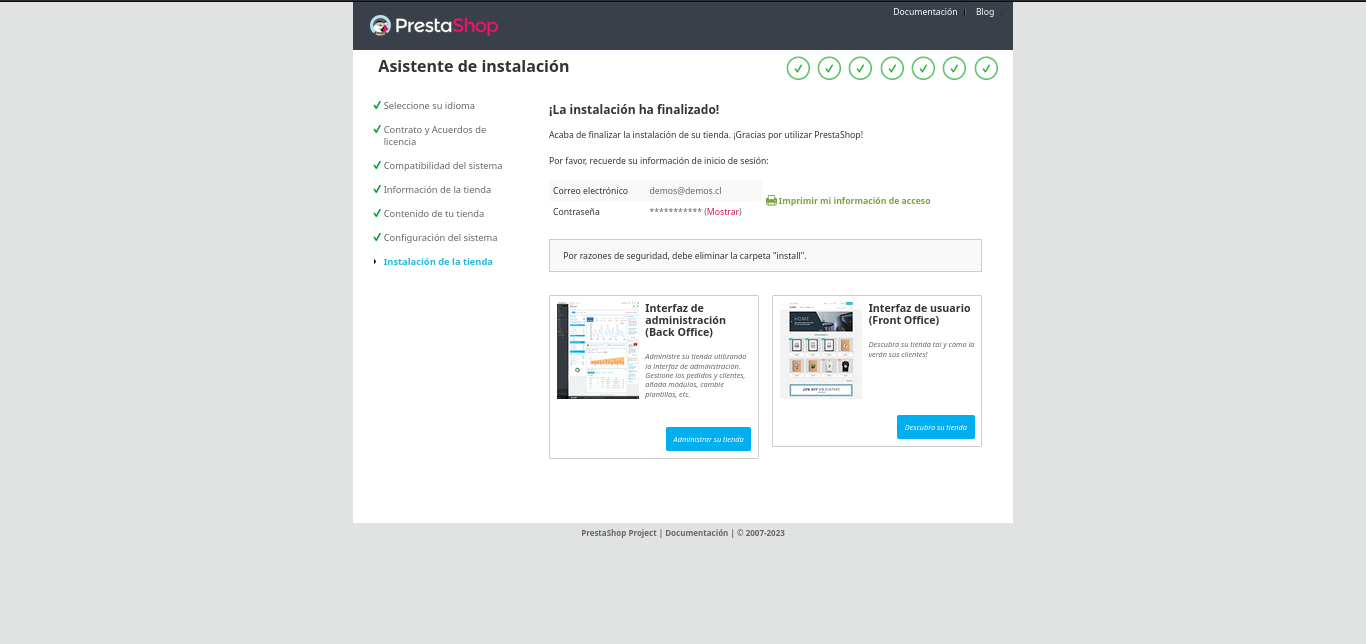
- Instalación finalizada
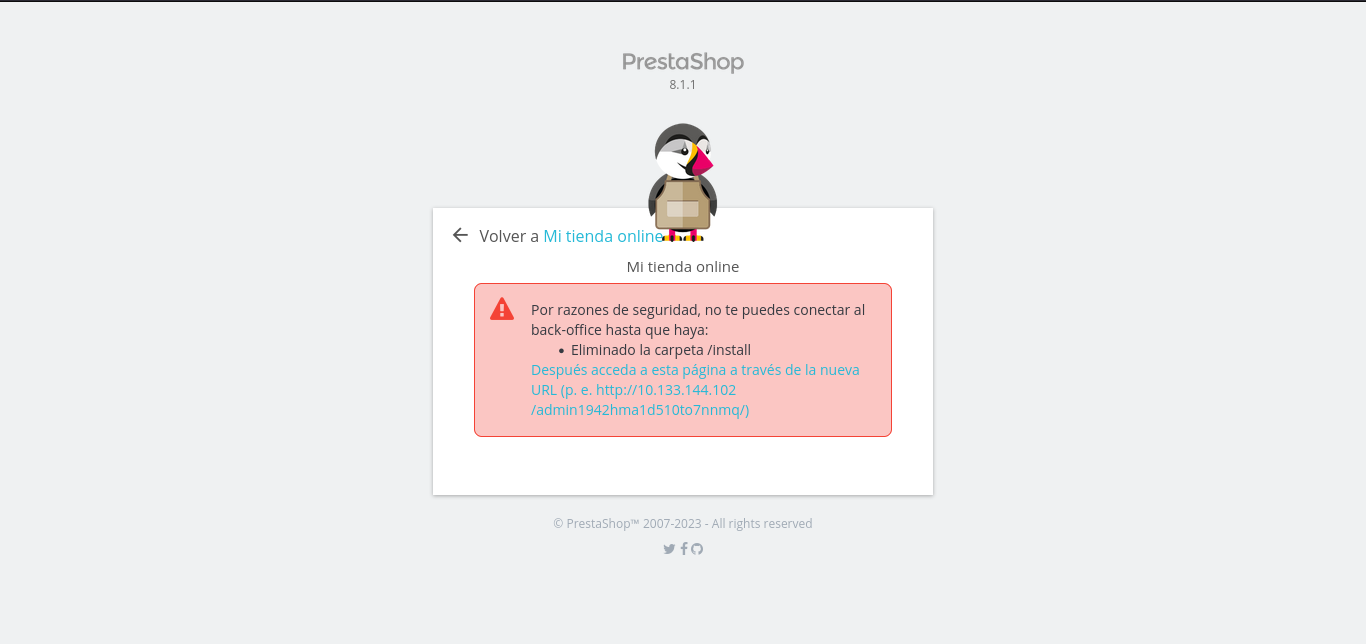
- Eliminar las carpeta install en las ruta /var/www/html/install
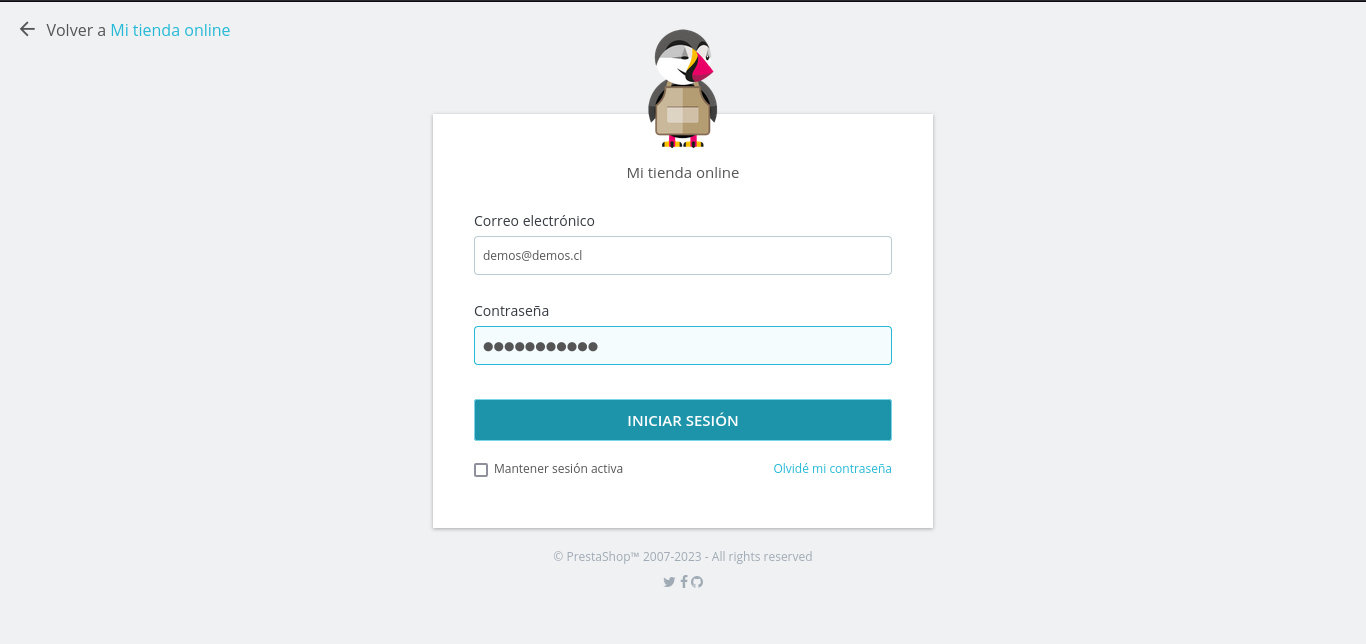
- Inicio de sesión con las credenciales creadas en paso de información de tienda
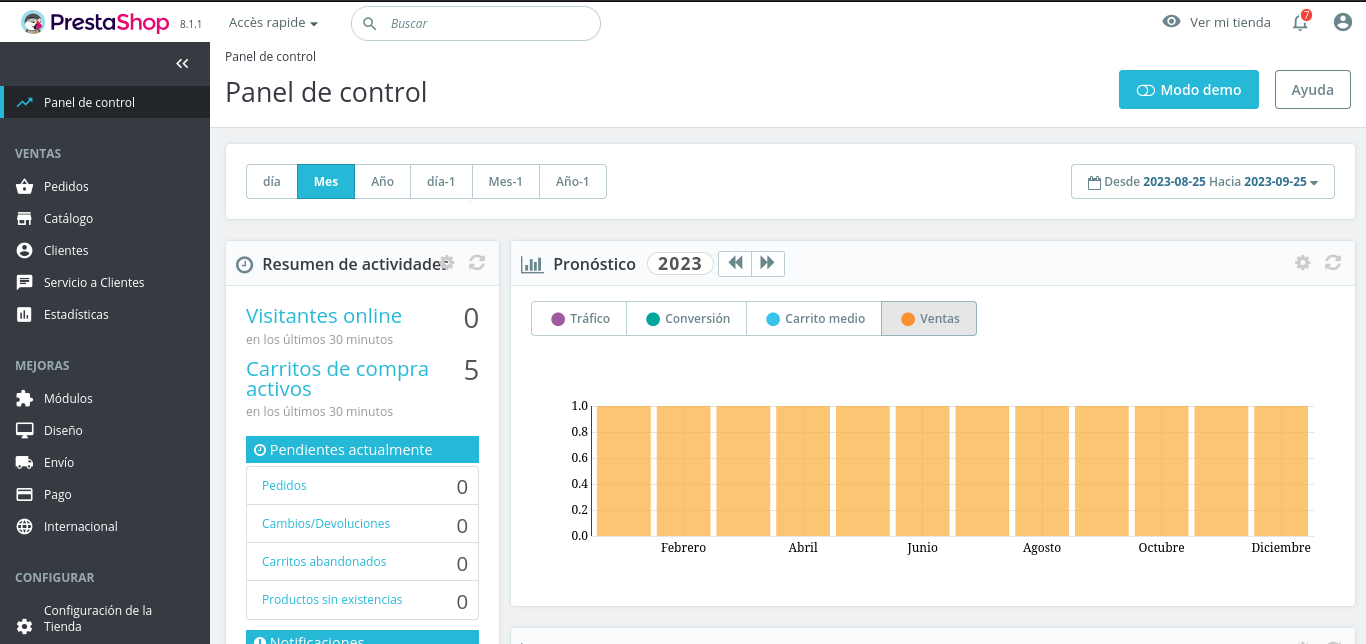
- Panel de administración
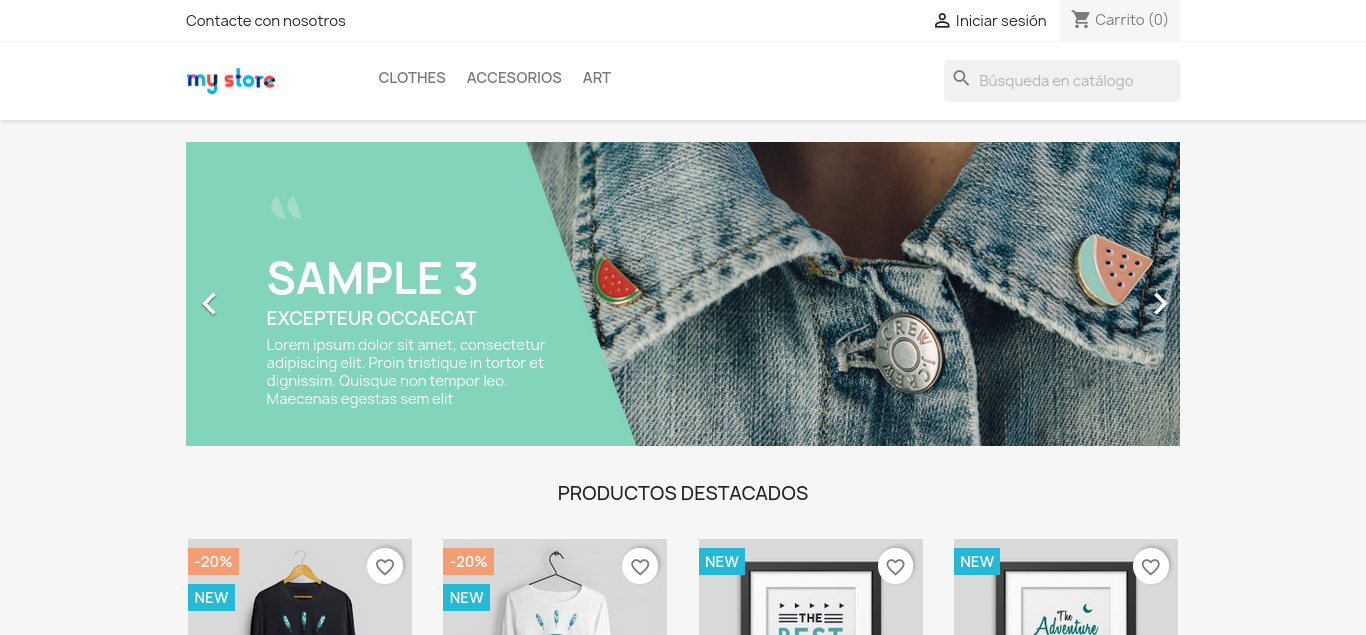
- Vista de la tienda visitada por un cliente o usuario
En este artículo, voy a guiar la implementación de un entorno de prueba para desplegar PrestaShop 8.1.1 en Debian 12 (Bookworm) utilizando PHP 8.2.7, MariaDB Server 10.11.3 y Apache 2.4.57.
![]()
![]()
¡Comencemos abriendo la terminal!
Para empezar, es esencial actualizar los repositorios en tu host o entorno de pruebas. Si hay actualizaciones disponibles para los paquetes que vamos a utilizar (PHP, MariaDB, Apache), te recomiendo actualizarlos para obtener mejoras en seguridad y rendimiento.
Refrescar repositorios
apt update
Hit:1 http://deb.debian.org/debian bookworm InRelease Hit:2 http://deb.debian.org/debian bookworm-updates InRelease Hit:3 http://deb.debian.org/debian-security bookworm-security InRelease Reading package lists... Done Building dependency tree... Done Reading state information... Done All packages are up to date.
Actualizar paquetes disponibles si es necesario
apt upgade
Actualización Full
apt full-upgrade
Instalemos nuestro servidor web apache que emplearemos en esta implementación.
apt install apache2 -y
Verificamos que apache2 server esta corriendo en nuestros host.
systemctl status apache2
Debieras obtener una salida prompt shell similar a esta.
●  apache2.service - The Apache HTTP Server
     Loaded: loaded (/lib/systemd/system/apache2.service; enabled; preset: enabled)
    Drop-In: /run/systemd/system/service.d
             └─zzz-lxc-service.conf
     Active: active (running) since Mon 2023-09-25 05:40:15 UTC; 53min ago
       Docs: https://httpd.apache.org/docs/2.4/
    Process: 16962 ExecStart=/usr/sbin/apachectl start (code=exited, status=0/SUCCESS)
   Main PID: 16966 (apache2)
      Tasks: 11 (limit: 4915)
     Memory: 277.0M
     CGroup: /system.slice/apache2.service
             ├─16966 /usr/sbin/apache2 -k start
             ├─16968 /usr/sbin/apache2 -k start
             ├─16970 /usr/sbin/apache2 -k start
             ├─16971 /usr/sbin/apache2 -k start
             ├─17013 /usr/sbin/apache2 -k start
             ├─17015 /usr/sbin/apache2 -k start
             ├─17032 /usr/sbin/apache2 -k start
             ├─17033 /usr/sbin/apache2 -k start
             ├─17036 /usr/sbin/apache2 -k start
             ├─17037 /usr/sbin/apache2 -k start
             └─17039 /usr/sbin/apache2 -k start
Sep 25 05:40:15 prestashop systemd[1]: Starting apache2.service - The Apache HTTP Server...
Instalemos y configuremos MariaDB con los siguientes comandos
apt install mariadb-server -y
Verifiquemos que MariaDB este corriendo en nuestro host
systemctl status mariadb
Debieras obtener una salida prompt shell similar a esta
● mariadb.service - MariaDB 10.11.3 database server
     Loaded: loaded (/lib/systemd/system/mariadb.service; enabled; preset: enabled)
    Drop-In: /run/systemd/system/service.d
             └─zzz-lxc-service.conf
     Active: active (running) since Mon 2023-09-25 05:21:30 UTC; 1h 33min ago
       Docs: man:mariadbd(8)
             https://mariadb.com/kb/en/library/systemd/
   Main PID: 8508 (mariadbd)
     Status: "Taking your SQL requests now..."
      Tasks: 16 (limit: 4915)
     Memory: 110.4M
     CGroup: /system.slice/mariadb.service
             └─8508 /usr/sbin/mariadbd
Ejecute el siguiente comando para reforzar MariaDB:
mysql_secure_installation
Siga la instrucción como se ve a continuación
NOTE: RUNNING ALL PARTS OF THIS SCRIPT IS RECOMMENDED FOR ALL MariaDB
      SERVERS IN PRODUCTION USE!  PLEASE READ EACH STEP CAREFULLY!

In order to log into MariaDB to secure it, we'll need the current
password for the root user. If you've just installed MariaDB, and
haven't set the root password yet, you should just press enter here.

Enter current password for root (enter for none):
OK, successfully used password, moving on...

Setting the root password or using the unix_socket ensures that nobody
can log into the MariaDB root user without the proper authorisation.

You already have your root account protected, so you can safely answer 'n'.

Switch to unix_socket authentication [Y/n] n
 ... skipping.

You already have your root account protected, so you can safely answer 'n'.

Change the root password? [Y/n] n
 ... skipping.

By default, a MariaDB installation has an anonymous user, allowing anyone
to log into MariaDB without having to have a user account created for
them.  This is intended only for testing, and to make the installation
go a bit smoother.  You should remove them before moving into a
production environment.

Remove anonymous users? [Y/n] Y
 ... Success!

Normally, root should only be allowed to connect from 'localhost'.  This
ensures that someone cannot guess at the root password from the network.

Disallow root login remotely? [Y/n] Y
 ... Success!

By default, MariaDB comes with a database named 'test' that anyone can
access.  This is also intended only for testing, and should be removed
before moving into a production environment.

Remove test database and access to it? [Y/n] Y
 - Dropping test database...
 ... Success!
 - Removing privileges on test database...
 ... Success!

Reloading the privilege tables will ensure that all changes made so far
will take effect immediately.

Reload privilege tables now? [Y/n] Y
 ... Success!

Cleaning up...

All done!  If you've completed all of the above steps, your MariaDB
installation should now be secure.

Thanks for using MariaDB!
Iniciamos sesión en MariaDB
mysql -u root -p
Debieras obtener una salida prompt shell similar a esta
Welcome to the MariaDB monitor.  Commands end with ; or \g.
Your MariaDB connection id is 507
Server version: 10.11.3-MariaDB-1 Debian 12

Copyright (c) 2000, 2018, Oracle, MariaDB Corporation Ab and others.

Type 'help;' or '\h' for help. Type '\c' to clear the current input statement.

MariaDB [(none)]>
Creamos nuestra base de datos
create database shop_db charset utf8mb4 collate utf8mb4_unicode_ci;
Vamos a crear un usuario llamado "shop_user". Donde ves "(XXXXXXXX)", escribe la contraseña que asignarás a este usuario. Posteriormente, utilizaremos esta contraseña cuando instalemos PrestaShop para conectarnos a la base de datos "shop_db" con el usuario "shop_user" que hemos creado.
create user shop_user@localhost identified by 'XXXXXXXX';
Concedemos los privilegios suficientes al usuario "shop_user" sobre la base "shop_db".
grant all privileges on shop_db.* to shop_user@localhost;
Salimos de la consola interactiva de MariaDB
exit
Instalamos PHP82 con las dependencias requeridas por prestashop
apt install -y php-curl php-gd php-intl php-mbstring php-xml php-zip php8.2-curl php8.2-gd php8.2-intl php8.2-mbstring php8.2-xml php8.2-zip php-apcu php-memcached php-memcache php-mysql php8.2-mysql
Recargamos la configuración del servicio web apache para que tome las configuraciones de php que acabamos de instalar.
systemctl reload apache2
instalamos wget y unzip necesario para descargar prestashop y descomprimir el archivo zip
apt install wget unzip
Descargamos prestahop en la ruta /tmp en versión 8.1.1
wget -P /tmp https://github.com/PrestaShop/PrestaShop/releases/download/8.1.1/prestashop_8.1.1.zip
Nota!!
Si estás revisando esta implementación en una fecha posterior a la versión 8.1.1 lanzada el 7 de agosto de 2023, te recomiendo verificar los lanzamientos más recientes visitando: github.com/PrestaShop/PrestaShop/releases
Descomprimimos prestashop_8.1.1.zip
unzip /tmp/prestashop_8.1.1.zip -d /var/www/html
Vamos a cambiar el grupo de la carpeta "html" de "root" al grupo "www-data".
chown -R www-data:www-data /var/www/html
Eliminamos el archivos index.html de /var/www/html
rm /var/www/html/index.html
Habilitamos el modulo apache mod_rewrite
a2enmod rewrite
Reiniciamos apache2
systemctl restart apache2
Accede al localhost o la dirección IP correspondiente y procede con la configuración.
Inicio Install_PrestaShop.html y Descompresión de prestashop.zip
Selección de idioma
Contrato y acuerdo de licencia
Compatibilidad de sistema (esta Pantalla solo es visible si falta alguna dependencia, en este caso elimine intencionalmente php8.2-mbstring para mostrar la pantalla de error)
Información de tienda
Contenido de tienda
Configuración de sistema
Instalación de tienda
Instalación finalizada
Eliminar las carpeta install en las ruta /var/www/html/install
rm -rf /var/www/html/install
Inicio de sesión con las credenciales creadas en paso de información de tienda
Panel de administración
Vista de la tienda visitada por un cliente o usuario
Hemos llegado al final de este tutorial. Espero que haya sido útil y que hayas logrado configurar tu entorno según tus necesidades. Si tienes alguna pregunta o necesitas más ayuda en el futuro, no dudes en contactarnos. ¡Buena suerte con tu proyecto y hasta la próxima!